
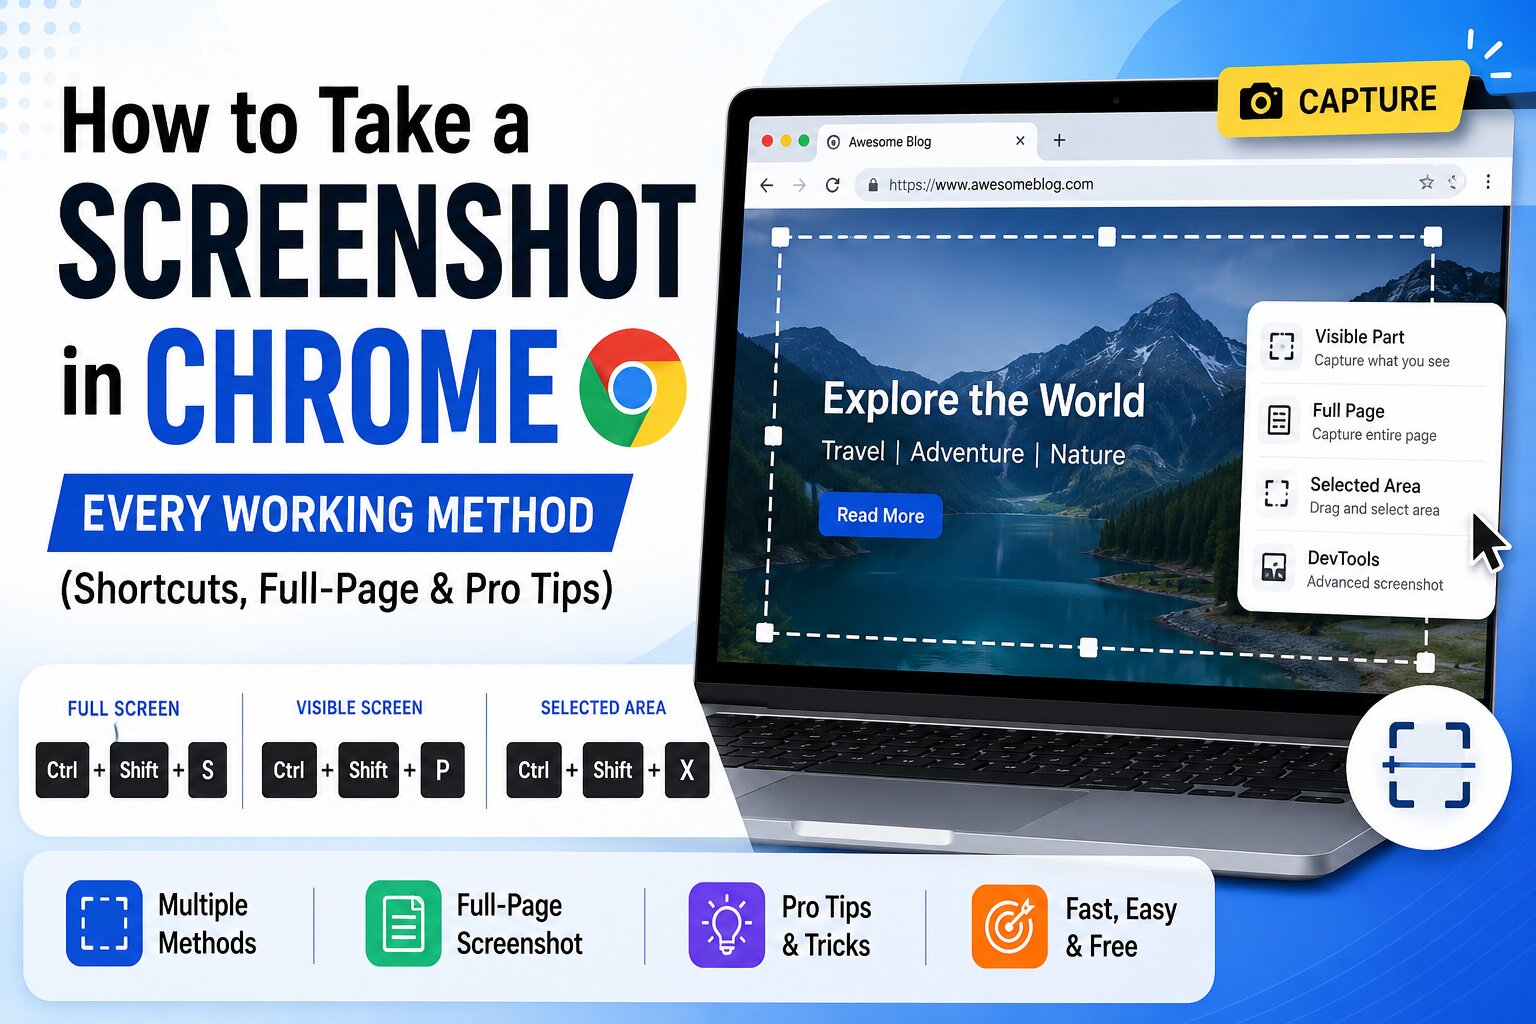
Taking a screenshot in Google Chrome sounds simple until you need a full webpage, a specific section without the browser chrome, or a clean image you can annotate and share immediately. Most quick answers only show the basic Print Screen key. This guide covers every reliable method that still works in 2026, including the ones AI overviews usually skip.
1. Fastest Keyboard Shortcuts (Windows, Mac & ChromeOS)
Windows
- Entire screen: Press
PrtScn(orFn + PrtScnon some laptops). Image goes to clipboard. Paste into Paint, Word, or any app withCtrl + V. - Active window only:
Alt + PrtScn. - Custom area (recommended):
Windows key + Shift + S. Select rectangular, freeform, window, or full-screen snip. The image is copied to clipboard and a notification appears so you can edit or save it.
Mac
- Entire screen:
Command + Shift + 3. - Selected area:
Command + Shift + 4, then drag. - Specific window:
Command + Shift + 4, then press Spacebar and click the window. - Touch Bar (if present):
Command + Shift + 6.
ChromeOS (Chromebook)
- Entire screen:
Ctrl + Show Windowskey (the rectangle with two lines). - Partial screen:
Ctrl + Shift + Show Windowskey, then drag the area. - Window only:
Alt + Show Windowskey.
These OS-level shortcuts work inside Chrome and are usually the quickest for everyday captures.
2. Capture a Full-Page (Scrolling) Screenshot with Chrome DevTools
This is the most useful built-in method and the one most people miss.
- Open the page you want to capture.
- Press
F12orCtrl + Shift + I(Windows/ChromeOS) /Command + Option + I(Mac) to open DevTools. - Press
Ctrl + Shift + P(Windows) orCommand + Shift + P(Mac) to open the Command Menu. - Type “screenshot” and choose Capture full size screenshot.
- Chrome automatically downloads a PNG of the entire page, including content that was below the fold.
Alternative path: Right-click anywhere → Inspect → click the three-dot menu in the top-right of DevTools → More tools → Rendering → then use the screenshot options, or stay with the Command Menu method above (faster).
Tip: This method captures the rendered page exactly as Chrome sees it, so sticky headers and lazy-loaded images usually appear correctly.
3. Best Free Chrome Extensions for Screenshots
If you take screenshots often, install one of these (all free and widely used):
- GoFullPage – Full Page Screen Capture
One-click full-page capture. Excellent for long articles, documentation, or e-commerce pages. Clean PNG or PDF output. - Awesome Screenshot and Screen Recorder
Capture visible area, selected area, or full page. Built-in annotation tools (arrows, text, blur, crop). Can also record short videos. - Nimbus Screenshot & Screen Video Recorder
Strong annotation suite, cloud storage option, and easy sharing. - FireShot
Good for saving as PDF or sending directly to email/Google Drive.
After installing, the extension icon appears in the toolbar. Click it and choose the capture type. Most extensions let you edit immediately before saving.
4. Screenshot on Chrome for Android and iOS
Android
- Most phones: Power + Volume Down at the same time.
- Some Samsung/Pixel devices also support scrolling screenshots after the initial capture (look for the “Scroll capture” or “Capture more” button).
iPhone / iPad (Chrome app)
- iPhone with Face ID: Side button + Volume Up.
- iPhone with Home button: Side/Top button + Home.
- After capture, tap the preview and use the Markup tools if needed. Chrome itself does not add extra screenshot features beyond the system ones.
5. Pro Tips Most Guides Skip
- Hide the browser UI before capturing: Press
F11for full-screen mode, then take the screenshot. Exit withF11again. - Capture only the webpage content without toolbars: Use the DevTools full-size method or an extension that offers “Capture visible page without browser chrome.”
- Annotate quickly: After using Windows Snipping Tool or Mac screenshot, the system editor opens. On Mac you can also press
Command + Control + Shift + 4variants for clipboard-only captures. - High-DPI / Retina screens: Chrome’s DevTools full-page screenshot and most modern extensions produce sharp 2x images automatically.
- Save location: On Windows, screenshots from Snipping Tool usually go to Pictures → Screenshots. On Mac they land on the Desktop by default (change in System Settings → Keyboard → Keyboard Shortcuts → Screenshots).
- Privacy tip: Before capturing pages with personal data, open an Incognito window (
Ctrl + Shift + N) so cookies and autofill do not appear.
6. Troubleshooting Common Problems
- Screenshot is black or blank → Hardware acceleration conflict. Go to
chrome://settings/systemand turn off “Use hardware acceleration when available,” then restart Chrome. - Full-page capture cuts off content → Disable lazy loading temporarily or scroll slowly through the page once before capturing. Some sites load images only on scroll.
- Extension not working → Check
chrome://extensionsand make sure it has permission to access file URLs or all sites if needed. - Clipboard is empty after PrtScn → Some laptops require
Fn + PrtScn. Also try pasting into Paint first.
Quick Comparison Table
| Method | Speed | Full Page | Annotation | Best For |
|---|---|---|---|---|
| OS Keyboard | Fastest | No | Limited | Everyday quick captures |
| DevTools | Fast | Yes | No | Exact full-page PNGs |
| GoFullPage | Fast | Yes | Basic | Long articles & docs |
| Awesome Screenshot | Medium | Yes | Excellent | Editing + sharing |
| Mobile system keys | Fast | Partial | Yes | Phone screenshots |
Final Recommendation
For most people the winning combination is:
Windows + Shift + SorCommand + Shift + 4for daily use.- Chrome DevTools “Capture full size screenshot” when you need the entire page.
- One solid extension (GoFullPage or Awesome Screenshot) if you do this several times a week.
Bookmark this page or save the keyboard shortcuts. Once you use the DevTools method a couple of times, you will never go back to stitching multiple screenshots together.