
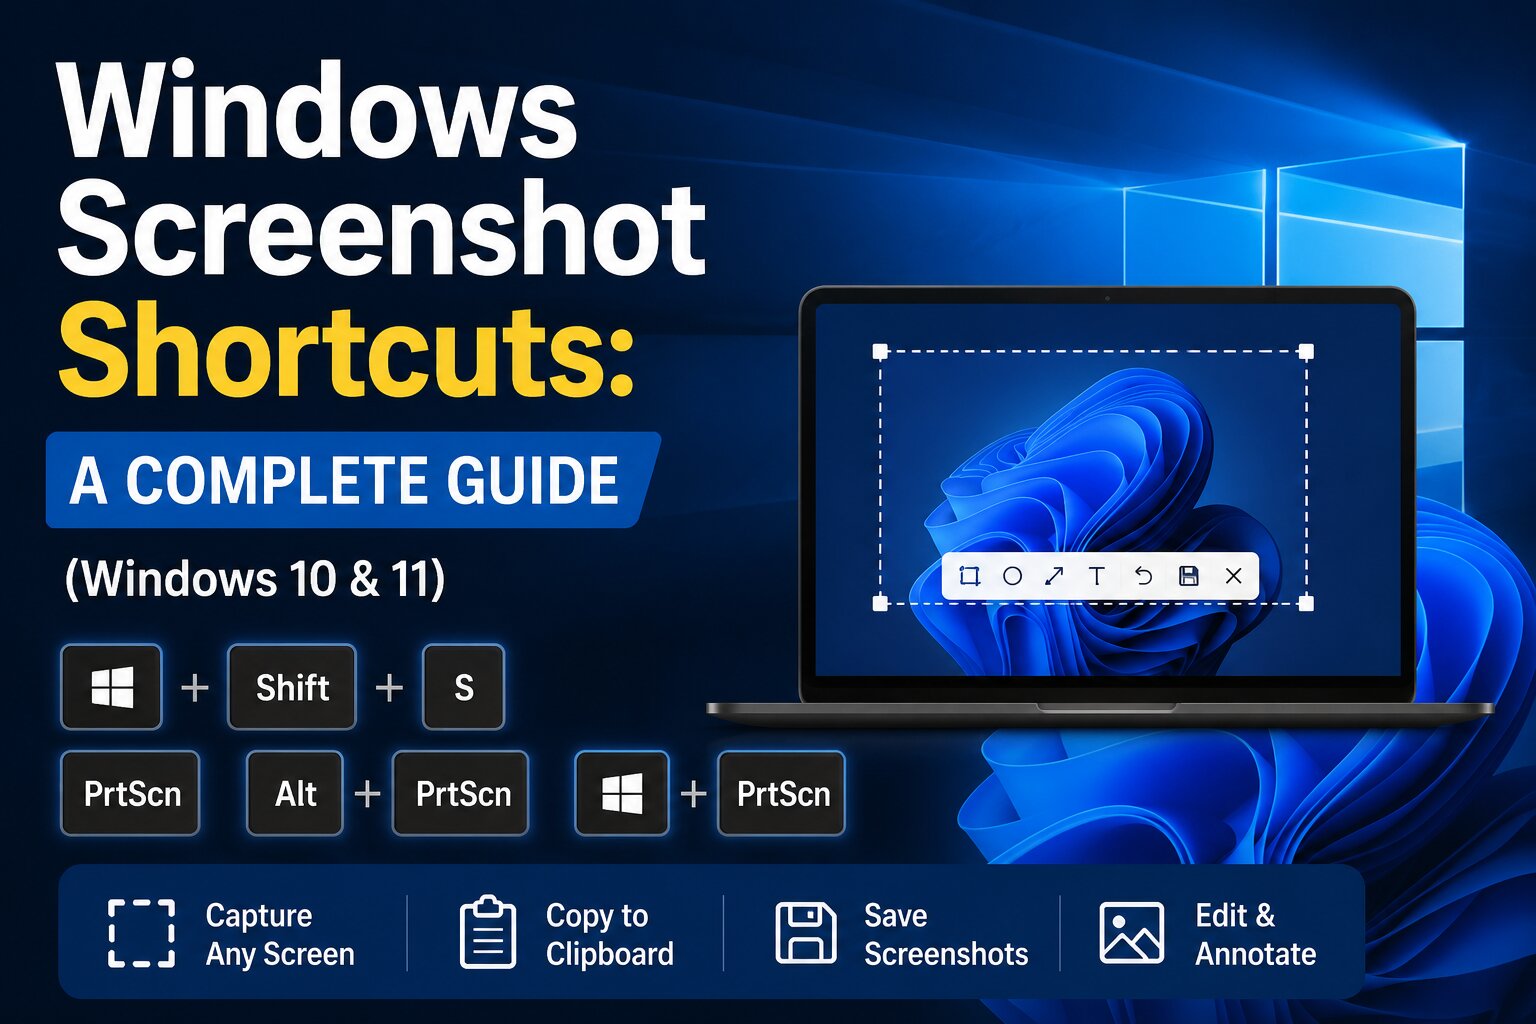
Taking screenshots is one of the most common tasks on a Windows PC. Whether you need to capture an error message, share a design, document a process, or grab a game moment, Windows provides several built-in keyboard shortcuts and tools. No third-party software is required for most everyday needs.
This guide covers every major screenshot method available in Windows 10 and Windows 11 as of 2026, including where each capture goes, when to use it, and useful tips.
Quick Reference Table
| Shortcut | What It Captures | Destination | Best For |
|---|---|---|---|
| PrtScn (or Fn + PrtScn) | Entire screen | Clipboard | Quick paste into apps |
| Win + PrtScn | Entire screen | Pictures > Screenshots (PNG) + Clipboard | Instant auto-saved full screens |
| Alt + PrtScn | Active window only | Clipboard | Clean single-window captures |
| Win + Shift + S | Custom area / window / full | Clipboard (+ notification to edit) | Most flexible everyday use |
| Win + Alt + PrtScn | Active window (Game Bar) | Videos > Captures | Games and full-screen apps |
| Win + G | Opens Game Bar | Videos > Captures (via camera icon) | Gaming + screen recording |
1. Print Screen (PrtScn) — Classic Full-Screen Capture
Press the Print Screen key (often labeled PrtScn, PrtSc, or Print Scrn).
- Copies the entire screen (including all monitors if you use multiple displays) to the clipboard.
- Open Paint, Word, an email, Slack, or any image-supporting app and press Ctrl + V to paste.
- On many laptops the Print Screen function shares a key, so you may need Fn + PrtScn.
Note for Windows 11 users: In recent builds, Microsoft changed the default behavior of the PrtScn key so it opens the Snipping Tool overlay instead of copying the full screen. You can restore the classic behavior in Settings → Accessibility → Keyboard by turning off “Use the Print Screen key to open screen snipping.”
2. Windows Key + Print Screen — Auto-Save Full Screen
Press Windows key + PrtScn at the same time.
- The screen briefly dims or flashes to confirm the capture.
- A full-screen PNG file is automatically saved to:
C:\Users\[YourUsername]\Pictures\Screenshots- The image is also copied to the clipboard.
This is the fastest way to create a permanent file without opening any app or pasting anything.
3. Alt + Print Screen — Active Window Only
- Click the window you want to capture so it becomes active.
- Press Alt + PrtScn.
Only the active window is copied to the clipboard (no desktop background or other windows). Paste with Ctrl + V wherever you need it. Ideal when you want a clean capture of one application.
4. Windows Key + Shift + S — Snipping Tool Overlay (Most Useful)
This is the recommended method for most people.
- Press Windows key + Shift + S.
- The screen dims and a small toolbar appears at the top with four modes:
- Rectangular — Drag a box around any area (most common).
- Freeform — Draw any shape with the mouse.
- Window — Click any open window to capture it cleanly.
- Full screen — Captures everything instantly.
- After selection, the screenshot is copied to the clipboard.
- A notification appears in the bottom-right corner. Click it to open the Snipping Tool editor, where you can annotate, crop, highlight, or save the image.
Extra features in the modern Snipping Tool (Windows 11):
- Delay timer (1–5 or 10 seconds) — useful for capturing menus or tooltips that disappear when you click.
- Built-in annotation tools (pen, highlighter, shapes, text).
- Text Actions / OCR — extract editable text from the screenshot.
- Screen recording support via Windows key + Shift + R.
You can also open the full Snipping Tool app from the Start menu for more options.
5. Xbox Game Bar Methods
Useful for games and some full-screen applications that block normal shortcuts.
- Windows key + G — Opens the Xbox Game Bar overlay.
- Windows key + Alt + PrtScn — Takes a screenshot of the active window/game and saves it automatically to
Videos > Captures.
You can also click the camera icon inside the Game Bar. Screen recording is available from the same overlay.
Additional Useful Shortcuts & Tips
- Windows key + Shift + T (newer Windows 11 builds) — Opens Text Actions for OCR. Drag around text on screen (from images, PDFs, videos, etc.) and copy the recognized text directly.
- Windows key + Shift + R — Opens the screen recording overlay in Snipping Tool.
- On Windows tablets or 2-in-1 devices without a keyboard: Press Power + Volume Up together for a full-screen capture.
- Multiple monitors: Most shortcuts capture all screens. Use the Window or Rectangular mode in Snipping Tool when you only want one display.
Where Screenshots Are Saved
| Method | Location |
|---|---|
| Win + PrtScn | Pictures > Screenshots |
| Game Bar / Win + Alt + PrtScn | Videos > Captures |
| Snipping Tool (saved) | Wherever you choose when saving |
| Clipboard-only methods | Nowhere until you paste and save |
You can change the default Screenshots folder location by right-clicking it → Properties → Location tab.
Troubleshooting Common Issues
- PrtScn does nothing — Try Fn + PrtScn. Check if keyboard software (Logitech, Razer, etc.) has remapped the key. Ensure Game Mode is not interfering.
- No Screenshots folder — It is created automatically the first time you use Win + PrtScn.
- Want PrtScn to open Snipping Tool — Enable the option in Settings → Accessibility → Keyboard.
- Need scrolling screenshots — Windows does not support this natively. Use browser extensions (for web pages) or third-party tools such as ShareX or Snagit.
Recommended Workflow for Most Users
- For quick selective captures or annotation → Win + Shift + S
- For fast full-screen files → Win + PrtScn
- For a single clean window → Alt + PrtScn
- For games → Win + Alt + PrtScn or Game Bar
Mastering these few shortcuts covers nearly every screenshot need on Windows without installing anything extra. The combination of the classic Print Screen family and the modern Snipping Tool overlay gives you both speed and flexibility.